To acceess to Personalized Emails:
-
Click on the “Personalized Emails” on the left side bar
-
Click on the “Personalized Emails” tab
What shoud you know here?
There are 9 types of emails that can be customizable:
-
Order Created
-
Order needs validation
-
Shipping Instructions
-
Pickup rescheduled
-
Payment Pending
-
Refund Created
-
Return About To Expire
-
Expired Return
-
Payment Completed
Top panel
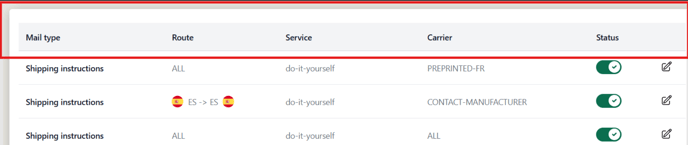
The top panel displays 5 columns which are:
Mail type → 9 mail types that we reviewed previously
Route → From where to where the return is going to be shipped.
Service → Type of service such as Drop-off, Pick-up etc
Carrier → Type of shipping transportation
Status → there are 2 variants: Active / Inactive.
To Inactivate email simply click on the toggle

The disactivated Email will automatically appear in the “Inactive” tab page
-
Click on the “Inactive” to see inactive emails
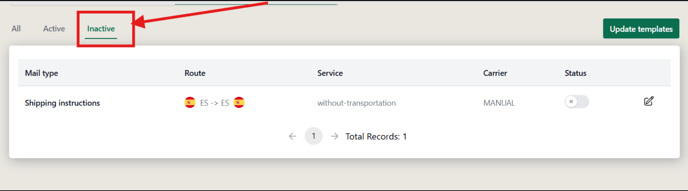
NOTE: The activated back email will appear in the same place where it was before Inactivation

Email Customization✉️
Check the video explanation of how to configure Personalized Emails
To start customizing emails click on the “Edit” Icon on the right side.

Step by Step
First of all, all merchants can add someone’s email to copy the email.
Simply add email and click on the “+Add” button.
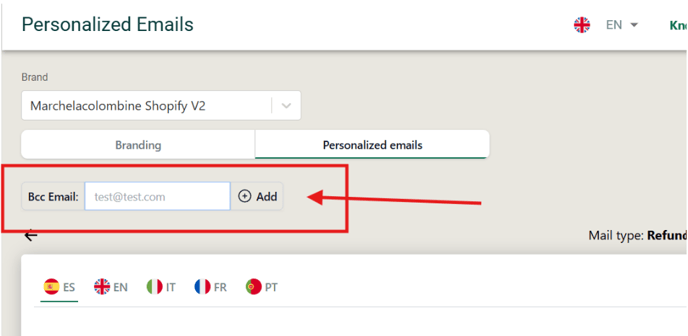
On the top right you can see the Email information.

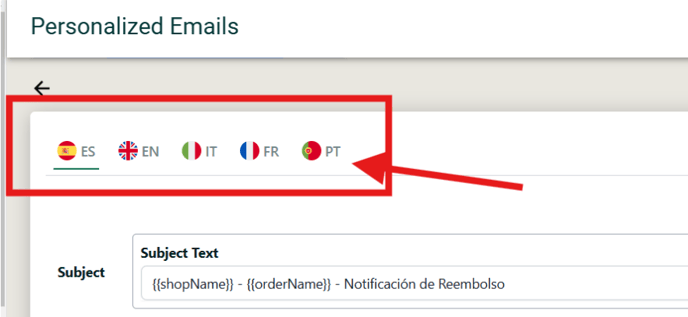
Language customization
One of the important things is merchants can customize email in 5 different languages which are:
-
Spanish
-
English
-
Italian
-
French
-
Portuguese
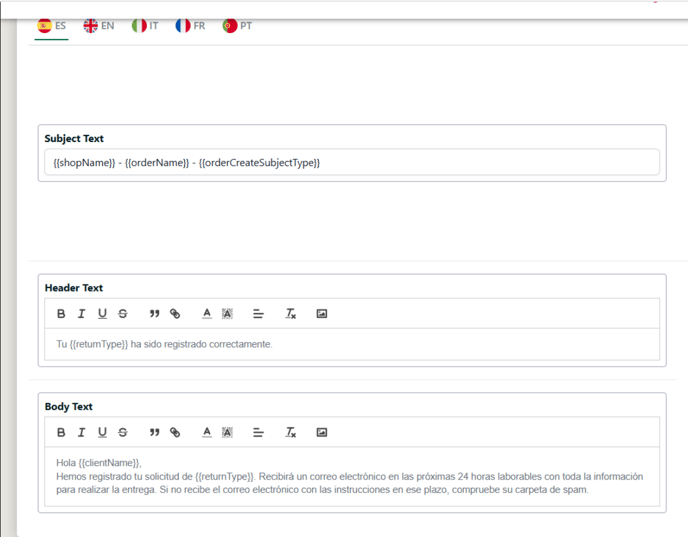
Now let’s talk about main part of the page:
Below you can find 3 sections you can customize:
-
Subject line
-
Header line
-
Body line
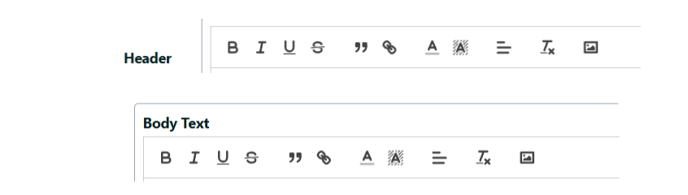
Both Header and Body sections have options to format text.
You can make it Bold, Cursive, Underlined or Strikethrough. You can add link, and images.
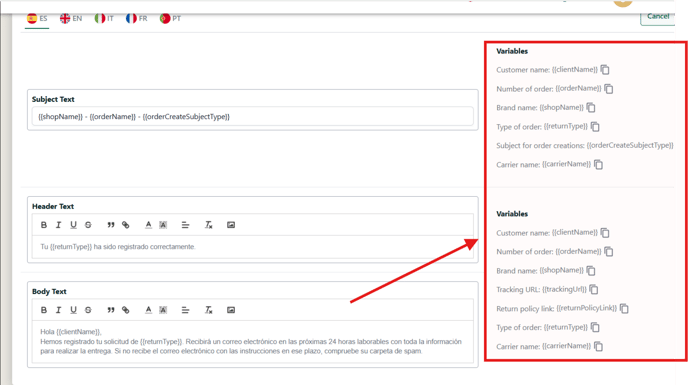
Variables
On the ride side of the page you can find Variables.
How Variables work?
Variables help merchants to automotically insert information selected in the bracket.
For example: Let’s say a customer named John creates a return order. Once the order is created the email will be sent will his name instead of clientName brackets.
You can find different Variables depends on the Mail type. But the one that are most used are:
-
clientName -> Name of the customer
-
orderName -> R7-MC8236
-
shopName -> Marchelacolombine
-
trackingUrl -> Tracking URL of transport
-
returnType -> Return / Exchange
-
orderCreateSubjectType -> Registered Return, Return in Progress, Registered exchange, Exchange in process
-
carrierName -> DHL, UPS, Correos etc...
Let’s have a look at more examples of how varibles work:
Here is email template of “Order created” for all Carriers, routes and services ( drop-off, pick-up etc)

The subject text is the one that appears at the top of message.

Below you can see which fields respond for every part of message.
- shopName- Marchelacolombine Shopify V2
- orderName - R7-MC8236
- orderCreateSubjectTyp - Devolucion registrada ( the order is registered )

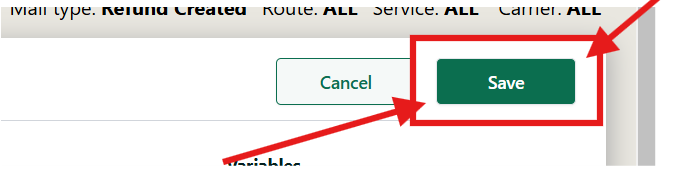
⚠️The last and the most important thing is to Save the changes otherwise it will not be applied.